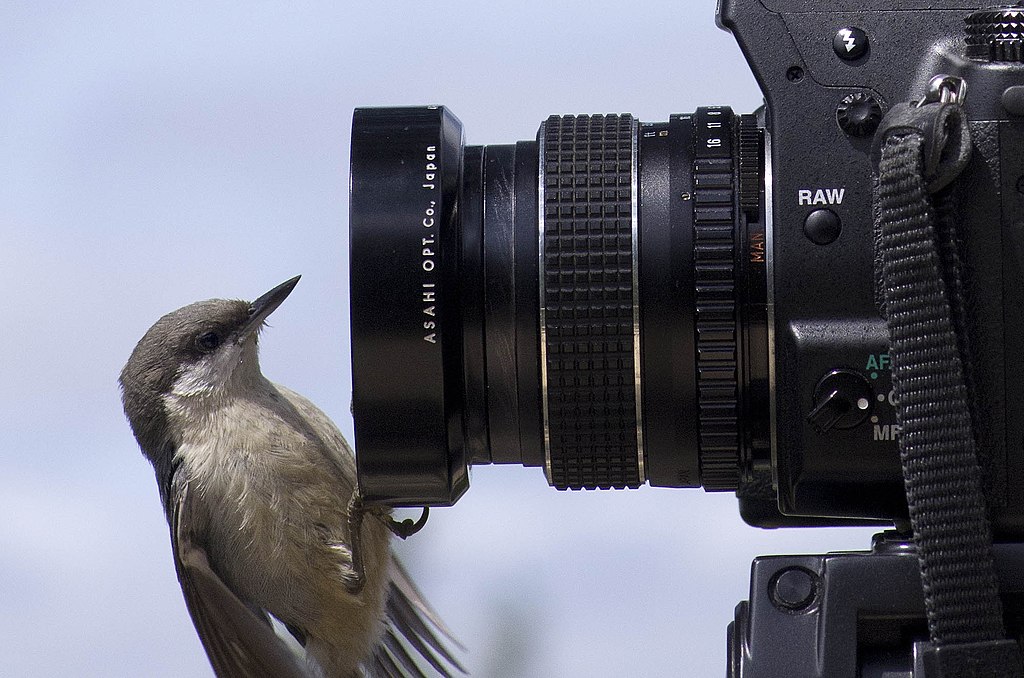
Picture it: you’ve finally caught sight of that Western Bluebird in your yard. But before you can get your camera or phone out, it’s gone. Or you’ve been fortunate enough to capture a photo of a bird while you’re out hiking, only to be left with a flurry of feathers or a fuzzy image. Not to worry! Here are some bird photography tips that pros swear by.
Bird Photography with a Smartphone

First, let’s consider the device you’ll be using to get your photos. Today’s smartphone is known for taking great shots that rival many cameras on the market. And the best part—you already carry it everywhere!
There are a few ways to optimize your smartphone for bird photography. Begin by cleaning your lens with a clean cloth (a simple, but sometimes forgotten, step). When taking a photo, tap the screen where the bird is; this will focus the camera on the bird as the main subject. Use your zoom sparingly; you can always crop your photos so that the bird subject is front and center without becoming grainy, as some zoomed-in photos are. Also, use your smartphone’s volume buttons to take photos; this controls the camera shutter, and allows you to take multiple photos at a faster shutter speed to catch fast-moving birds.
And finally, there are a number of apps out there to make your bird photos pop. Lightroom and PhotoPills are two of the most popular ones for nature and wildlife photography.
Bird Photography with a Camera
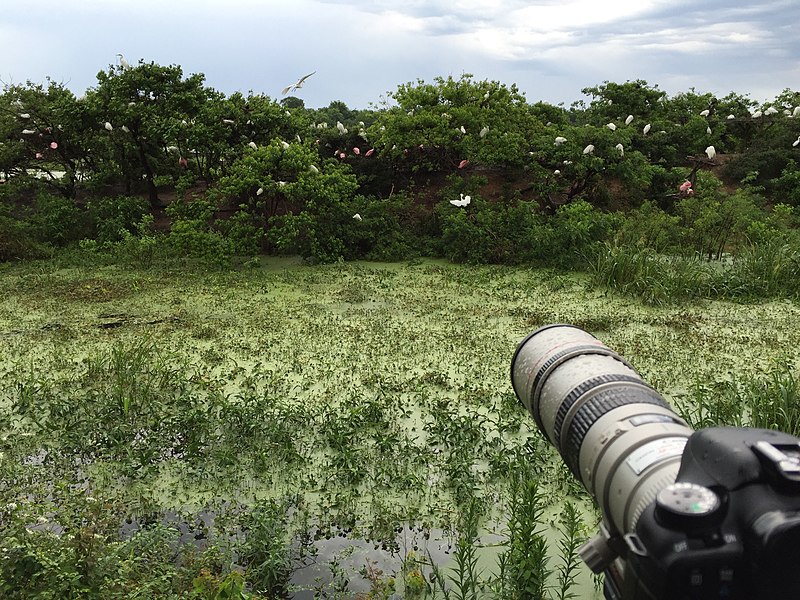
Looking for better bird shots than a smartphone camera can produce? Think about investing in a camera. Which camera is best for bird photography? As you can imagine, there are several. And, as with any new hobby requiring equipment, you can choose anywhere between “good enough for me” and top dollar. Here, however, we’ll stick to the basics of what to look for in a birding camera:
- 300 mm or better lens
- 8x or higher zoom
- Autofocus capability
- Lightweight
- Weatherproof
- Image stabilization (recommended)
Pro Tips for Photographing Birds
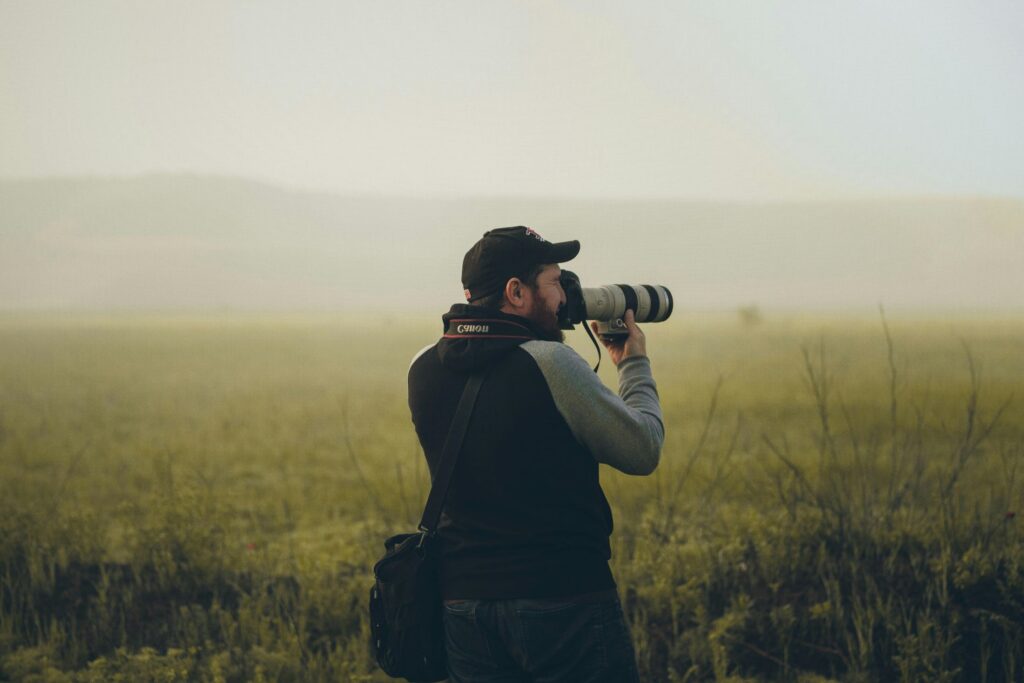
Now that we’ve run through the equipment you can use, let’s now focus on technique. These are a few pointers to make your bird images stand out:
Choose your location(s). Though you can find birds anywhere, if you’re looking for a specific type of bird, you’ll need to know where they are—including their habitats and migration patterns. This means doing a bit of research beforehand, like finding the birding hotspots in your area or where you plan to visit. If you live in, or are planning a trip to, the Big Bear Lake area, here are our top birding spots.
Go early and often. Wildlife photographers will tell you: if you want the best wildlife shots, you must visit places where wildlife goes, and visit often enough to see them. Also, since birds are typically most active at the first morning light, your best bet is to go early. There’s truth to the saying “the early bird catches the worm,” and you want to be right there ready to capture them on camera when they do!
Take lots of photos. Don’t wait for the bird to strike just the right pose; take as many shots of them as possible. You can sort out the blurry and unusable images from the good ones later.
Use the rule of thirds. In photography, this rule allows you to create a balanced, visually interesting photo. To do so, place the bird in the first or last third of your image, including surrounding elements, such as a bush, tree, or flower. You can turn on the grid on your smartphone camera or digital camera to help you to visualize this ratio as you shoot.
Fill the frame. Even when using the rule of thirds, you still want to fill your frame, at least a third of it, with your bird subject. This will remove all distractions other than the bird and one or two other elements that help tell a visual story (like a sunlit horizon or flowering tree branch). Use a long camera lens or the zoom feature on your smartphone to do this (being careful not to zoom in too much, resulting in a fuzzy image).
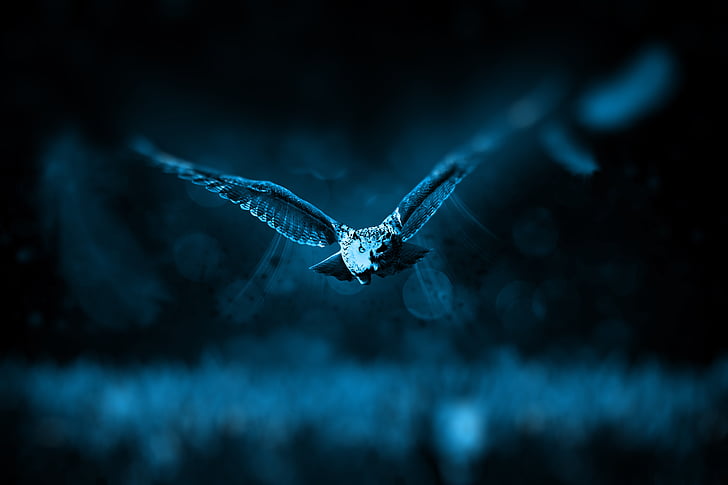
Use a tripod or phone stabilizer. Birds already move around a ton; you don’t want your camera to do the same! Invest in a tripod or smartphone stabilizer to keep your camera or smartphone steady as you take shots.
Get the light right. The best time for photographing birds? Anytime they are around! However, you’ll get better shots if you choose times of the day when the sunlight is softer, like early in the morning or during the “golden hour,” which is around late afternoon/early evening. But if you do choose to photograph midday, try taking photos with the sun in between you and the bird for the most colorful, well-lit shots.
Move slowly and keep a respectful distance. If you want to capture the perfect shot, you’ll need to be patient. Move slowly, and use trees, bushes, and other cover to hide behind to get as close to the bird as possible. However,if a bird seems anxious by your presence, you may be too close. Look for signs like a bird puffing themselves up to look bigger, making warning calls, or squawking loudly; if you see these, it might be time to step away or even leave. Remember: we want to be quiet observers of nature, not aggressive interlopers.
Touch up your photos. Use a photo-editing software or app to make your bird photos that much more appealing. Crop your photos, adjust brightness and colors, blur the background, get rid of shadows, and more. Along with Lightroom, Photoshop and Photoshop Express are popular options.
Go Birding at Big Bear Lake
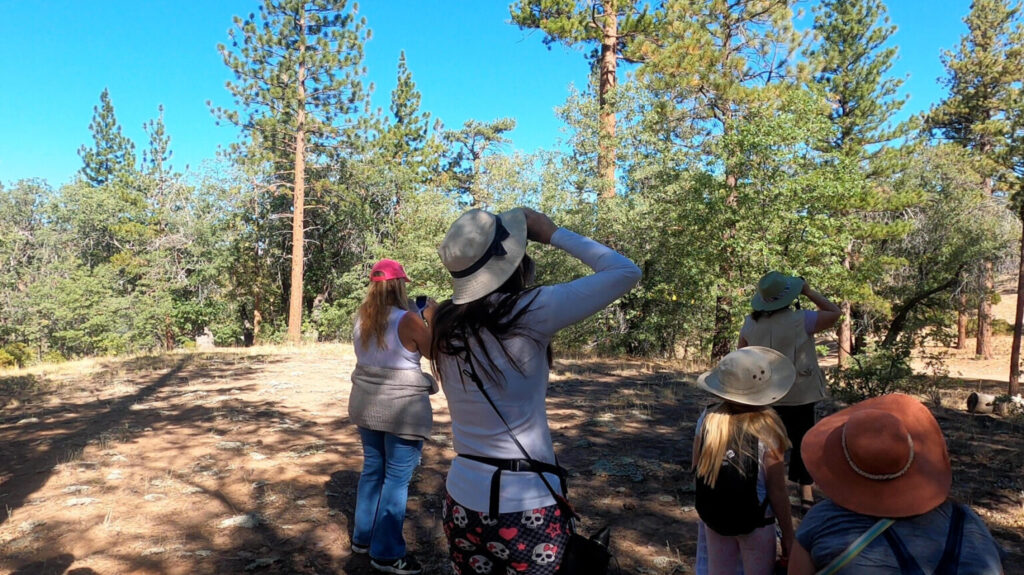
Try out your new photography skills on a guided birding tour of one of Big Bear Lake’s best bird hangouts. Get ready to see—and shoot (with your camera or phone)—some of our ample local bird life, including rare species you might get lucky enough to glimpse. Take a gander at our Bird Walk schedule to find when the next one is planned.
Don’t miss the next Bird Walk, or exciting Chirp event. Get notified in advance when you sign up for our monthly newsletter!
Blog featured image courtesy of Ed Sweeney.

